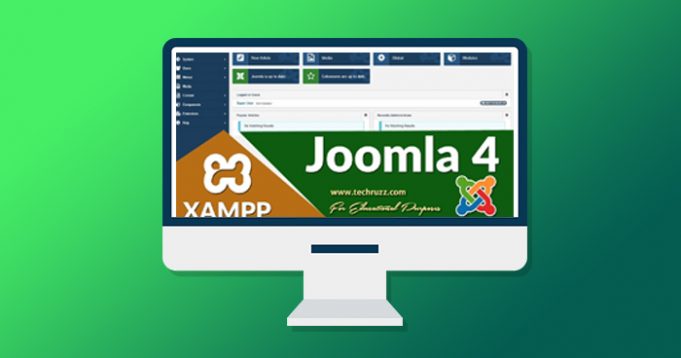
Joomla is an open-source content management system (CMS) used to develop and deploy websites to the Internet. Joomla is popular for its ease of use and flexibility. The open source platform gives web authors the capability to design and develop fully functional websites with minimal effort and in less time.
Joomla also gives non-technical web site owners the ability to make changes and updates to their websites using its powerful Joomla CMS backend. Joomla is part of the open source community, meaning that it is free to anyone to download and make use of it. This guide is to help you in obtaining Joomla and then installing it onto your web hosting server.
What are the Requirements for Installing Joomla?
Before installing Joomla on your server make sure it meets the minimum requirements for it. Here is a list of what’s required to install and effectively run Joomla.
- PHP 5.2 is the popular web programming language used to develop dynamic web pages.
- MySQL 4.1 is an open source relational database management system used to store and make available information.
- Apache Server 2.x is an open source web server based on the UNIX operating system use to serve static and dynamic web pages onto the World Wide Web.
- Microsoft IIS Server 7 is Microsoft’s flagship proprietary web server used to serve static and dynamic web pages to the World Wide Web.
- Filezilla Ftp client is a popular FTP client used to upload files from your computer to your web host.
You can download a copy of it from the Joomla website. Make sure you have a zip program on your computer to extract the zipped Joomla files onto your computer.
How to Install Joomla?
- Create a “Joomla” folder on your computer.
- Download and extract the Joomla installation files to your “Joomla” folder.
- Use FileZilla FTP client to upload the Joomla package files to your web host.
If you plan to install Joomla direct to your domain (www.mydomain.com), then you must upload the individual package installation files from your Joomla folder to your Web host’s “public_html” folder.
If you plan to install Joomla to a subdirectory (www.mydomain.com/joomla), rename the directory to the name of choice then upload it to Web host’s “public_html” folder.
- Navigate to your web host’s administration cpanel area and log in.
- Look for the “MySQL Database” Icon. Double-click on it to open.
- Add a new database and click to “Add User,” assign a user name and a password to the new user. Close out the cpanel.
- Run the Joomla installation script by typing the address of the Joomla installation package to your web browser’s address field (http://www.mywebsite or http://www.mywebsite/joomla/). You should now see the Joomla setup page.
- Enter your “Database name,” “Host name,” “User name,” and your “Password.” Click ” Next.” Follow the prompts to finish your setup.


