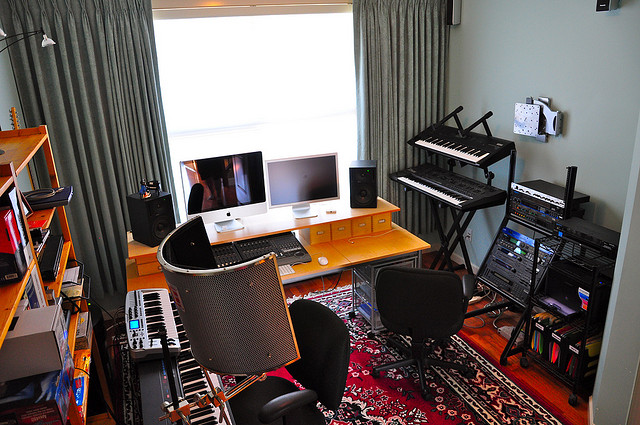
A flawless sound system for audio mixing is very hard to come by, but that does not mean the home studio producer cannot achieve the perfect audio mix. First, use the best headphones you can find for mixing. Then, every once in a while, switch to speaker monitors to hear the difference. After a significant amount of progress is made, burn a rough mix to a CD and listen to it in the car, or another familiar sound system. For each new system that the mix is played through, mark down adjustments that need to be made in terms of volume, panning, and EQ for each element of the song.
Volume Control: Balancing the Levels
The volume — the levels of each track, as well as the master level of the entire session — is something the producer will need to tweak constantly from the first to last steps of the mix. Anytime there is an adjustment to a track, i.e. panning, EQ, or added effects such as reverb, the necessary volume level will change, sometimes for every track.
Also, if one track is used for multiple sounds or instruments at different points in the song, either automation or gain will be necessary to adjust the varying levels, as opposed to adjusting the track level without automation, which will adjust for every sound in the track. This is also true if there is a situation in which an instrument needs to take precedence over the rest of the band, such as an intro, outro or solo.
Next, create a master fader and control the volume level to avoid clipping (clipping occurs when the audio is too loud and the master fader levels hit the red zone). To find the peak level, adjust the master fader until the red zone is briefly hit no more than once or twice per song, or adjust the individual tracks. The key is to make sure everything is as loud as possible. Also, for abstract or experimental effects, sometimes clipping can be used on purpose to produce a distortion effect.
Panning: Sound Location in a Stereo Audio Output
This refers to where the sound is located from right-to-left in a set of headphones or two speakers (panning is irrelevant in a mono-output system). Stereo tracks will have a panning fader for both the left and right track channel, while every other aspect of the track (such as the volume, and the audio seen in the edit window) can only be treated as one track. Mono tracks have only one panning fader.
Traditionally, the “base” of the song, or whatever serves as the rhythm section, will need to be panned directly in the center. Everything else can branch out around the base to the left and right at the producer’s discretion. Keep in mind two things: the further right or left the panning fader, the less volume and velocity the sound has (without adjusting the volume or adding gain).
Also, the more sounds occupy the sonic “location” in terms of left or right, the less clear and defined these sounds will be. Ideally, each sound and/or instrument should occupy its own specific spot in the panning spectrum.
Multiple Sessions and Bouncing to Disk
When there are too many tracks and plug-ins in a session, the playback engine might start to slow down and malfunction. So, sometimes it is a good idea to create multiple sessions.
For instance, if the session entails the use of a full band, during the mixing process there should be a new session devoted entirely to the drums and percussion (it may also be helpful to try this with any instrument). In the new session, there will be much more room to create an adequate amount of tracks and plug-ins, as well as duplicate drum tracks, if necessary (duplicate tracks beef up the sound and provide opportunity for more versatile mixing).
When the drums are mixed, bounce the session to disk, which creates an audio file, and use this file in one or two tracks, no plug-ins needed, for the main session.


